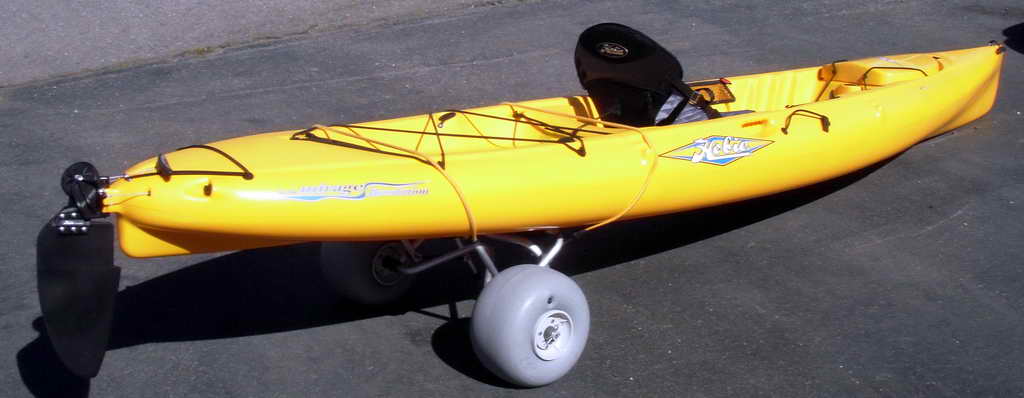
Fishing is an endeavor which requires extensive use of one's hands. Paddling a kayak is also an endeavor which requires the use of one's hands. When fishing from a kayak these endeavors are often in conflict. One solution is to pedal, not paddle, one's kayak. To that end I aquired my second kayak, an Hobie Mirage Revolution kayak.
Elsewhere on this website are described a number of rigging projects on an Ocean Kayak Prowler Trident 13 Angler. Many of the common rigging tasks such as anchor trolley and power plug are common between the OK T13A and the Hobie Mirage Revolution. However the HMR presents a number of rigging challenges. These are described here and beyond.
** Reshoot photos. Want anchor trolly to show on both yaks. Insert proper image - T13.Whole.Boat.1024.jpg **
Overall the HMR has a much flatter hull design than the T13, particularly at the stern. This limits the internal storage capacity and decreases the depth of the stern live well.
** Insert proper image - T13.Stern.View.1024.jpg **
The lower depth and slope of the HMR live well means simply throwing one's catch in the live well under the bungee lacing is not secure. Your catch can slide out due to waves and/or swell. Use a catch bag.
** Insert proper image - T13.Stern.Livewell.1024.jpg **
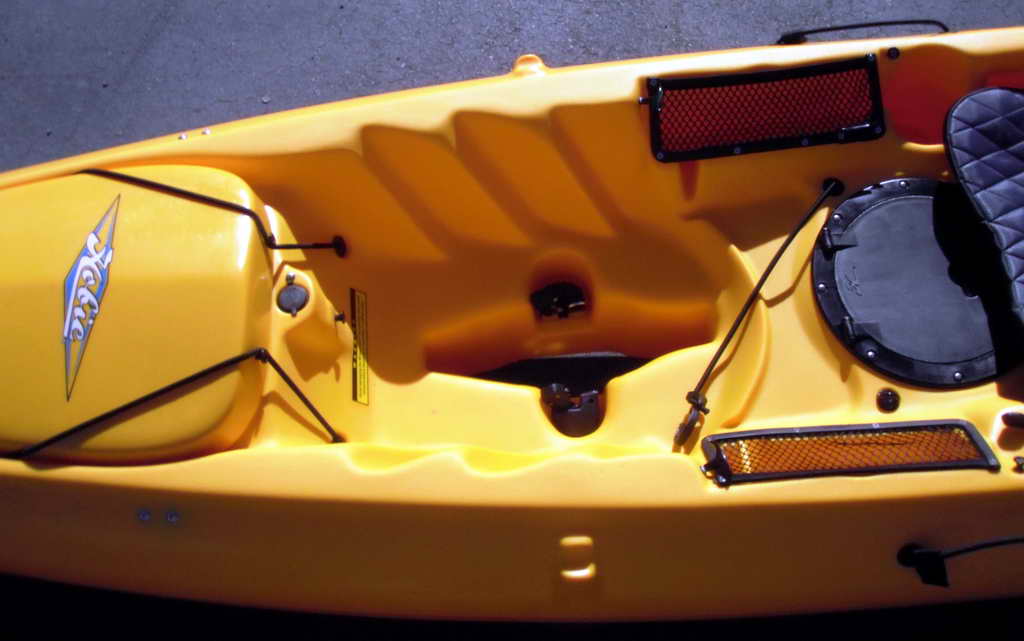
The space requirement for the Mirage Drive creates a large area of unusable space forward of the cockpit. This also increases the need for storage space elsewhere on the boat. Below is a photo of the mirage drive location on the HMR and the similar location on the T13A. To accommodate the Mireage drive and still maintain some sleekness, the foward gunwales are narrow. In my opinion the gunwales are too narrow for Scotty round compact mounts or surface mounts. The T13 has a lot of usable space in the same relative area - storage under the Sonar Shield, in the leg wells, and places for Scotty round compact mounts between the Sonar Shield and the Rod Pod.
** Insert proper image - T13.Forward.1024.jpg **
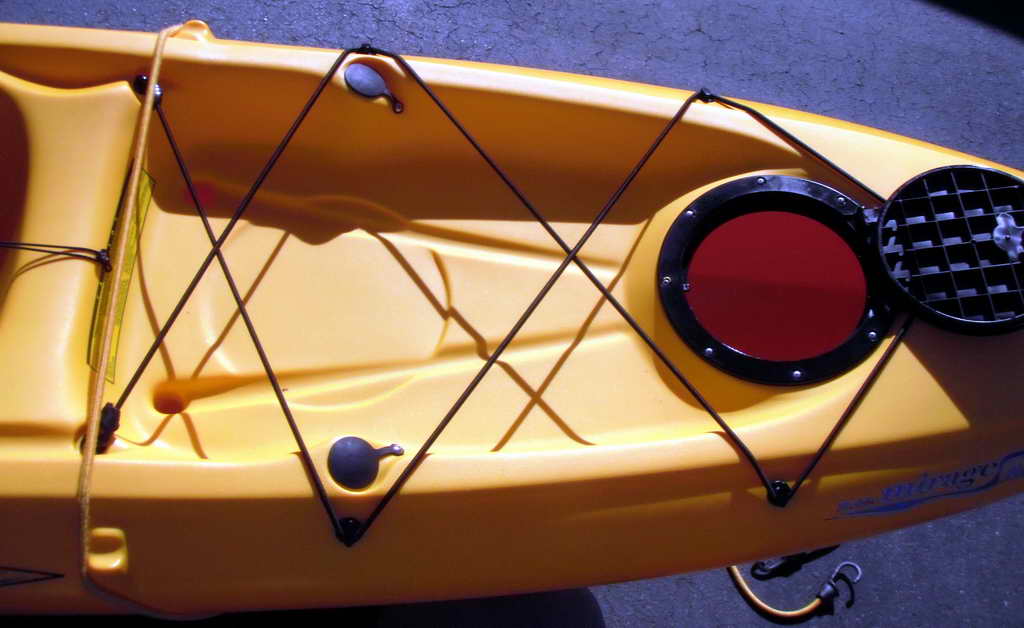
The HMR comes with virtually no deck lines. The only lines on the boat are the live well bungee lacing and the paddle bungee loops just forward of the molded side handles. As such there are no lash points on the bow. This further restricts storage options on the stock boat. The T13 features reflective deck lines from bow to stern as well as paddle bungee loops just aft of the side handles. A link to an HMR bow lacing project is below.
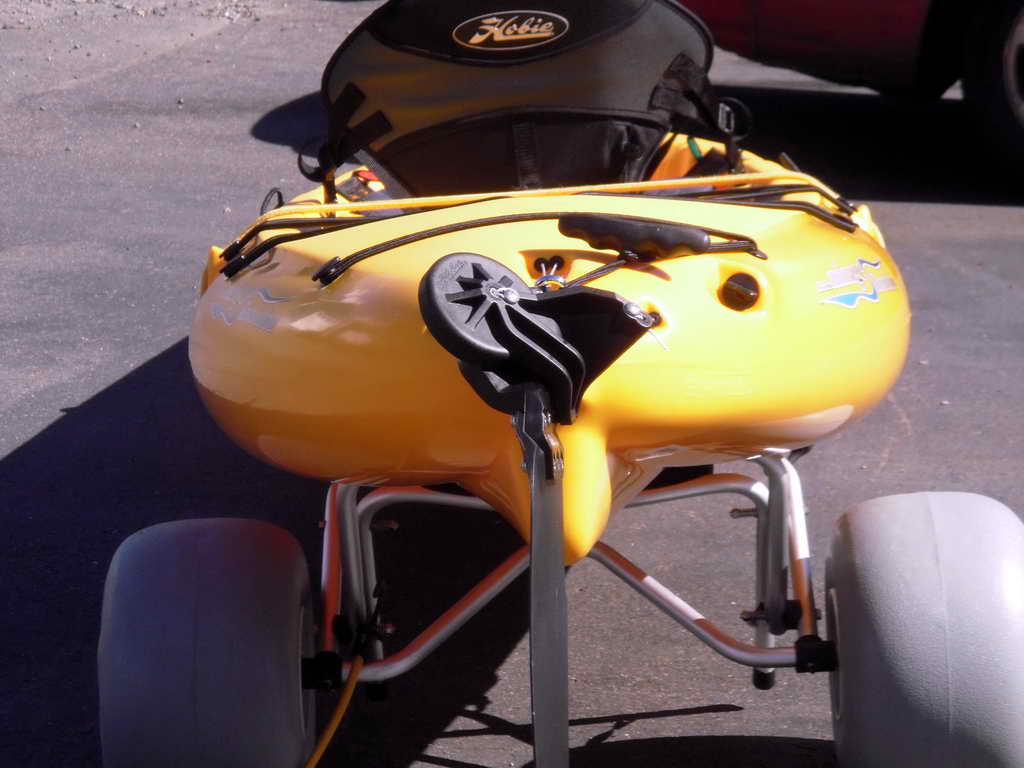
The HMR features the Twist-n-Stow Rudder. This rudder system is clearly visible in the stern view above. For the life of me I can not figure out the advantage of the Twist-n-Stow which lays flat on the stern, over the standard flip up style rudder which lays vertically on the stern. Whether flat or vertical the area is not usable as storage. Some say the vertical rudder creates more of a sail, but once I am on the water the rudder is in the water, so that make no sense to me. The T13 rudder flips up and down vertically with a deck mounted line loop and small clamcleat. The HMR rudder deployment system requires 4 holes in the boat and an internal pulley system. The pulleys are mounted to either side of the front hatch and held in place with 2 screws each. A hole in each forward gunwale for the deploy and retract cables, and 2 holes at the stern are required for the Twist-n-Stow. On Hobie web forums tuning the Twist-n-Stow is a common topic and Hobie has published a number of documents to help consumers deal with their overly complex rudders.
Twist-n-Stow Assembly Instructions
Twist-n-Stow Repair Manual
Twist-n-Stow Adjustment Guide
I really think the Twist and Stow rudder is a solution looking for a problem.
There are some very good things about the stock HMR. Internal access is very good with the three hatches. If you get a T13 I suggest the
The "Mirage" part of the Hobie Mirage Revolution is the pedal drive, hands-free locomotion. The photo above shows the location of the Mirage drive. The removable drive snaps in and out of the diamond-shaped hole forward of the seat and hatch.
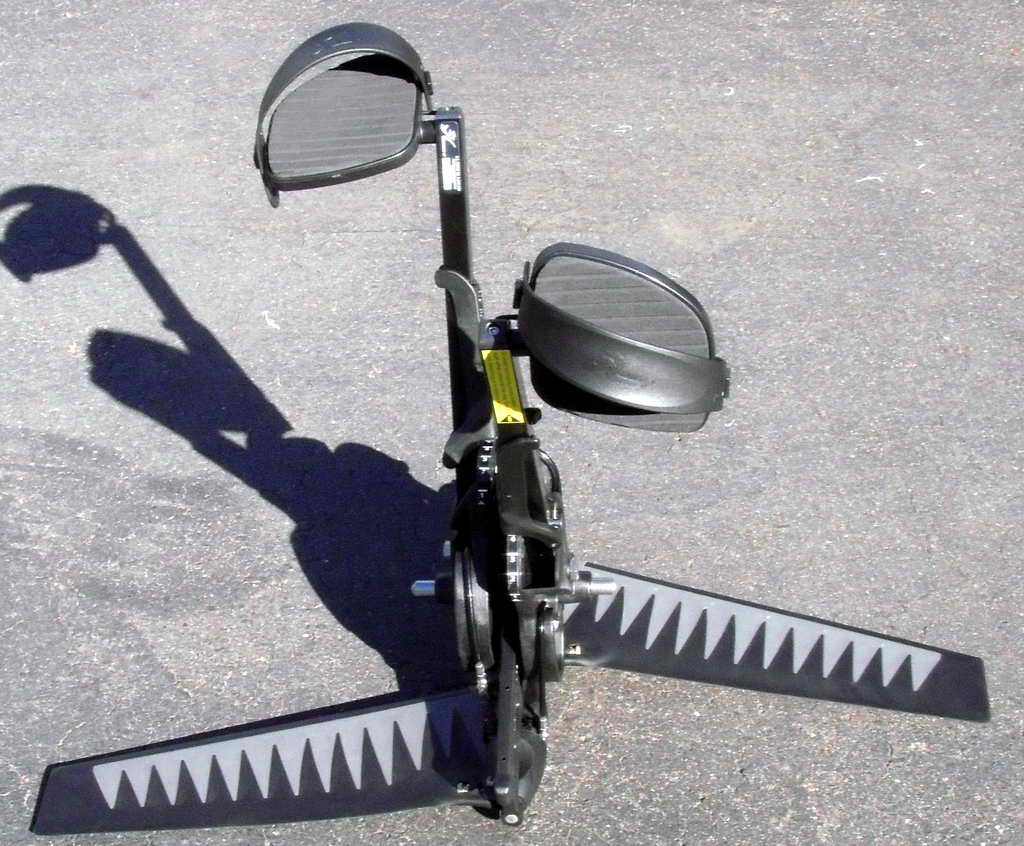
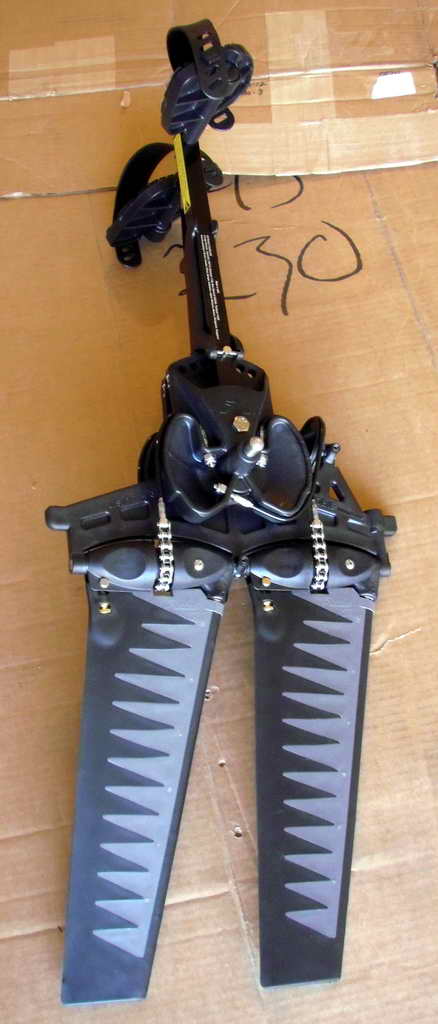 Here is a side view of the mirage drive. The pedals are at the top and the "flippers" are on the bottom. In my opinion the "flippers" should be called wings, since they act just like a bird's wings. The inboard edge is fixed, the leading edge is stiff (right side in the photo), and the trailing edge flexes. Moving up and down the wings push water to the rear.
Front view of the mirage drive. The drive snaps into place on the metal pegs sticking out from each side. The flippers are under the boat. As the drive is pedalled, when the pedals are next to each other as in the first photo the flippers are pointing straight down edgewise under the boat. When one pedal is forward and one back as in the second photo the flippers are extended. See the video on the Hobie site showing the mirage drive in action. Also see this YouTube video showing the mirage drive in action.