Demonick's Kayak Fishing Pages: Hobie Mirage Revolution Transducer in Putty Installation
Home
Last updated Sunday, 2012-03-04
For the general features, advantages, and disadvantages of the Hobie Mirage Revolution see the general features page.
Transducer
There are many ways to install a transducer. As described elsewhere on this website, the T13A has a scupper designed to mount a particular Humminbird transducer. A transducer can be mounted on a rudder, hung over the side, or mounted inside the boat shooting through the plastic of the hull. Here is described mounting a transducer inside the boat shooting through the plastic of the hull.
As described on the Hobie Mirage Revolution general features page the mirage drive drops through the boat and the flippers extend into the water. When mounting a transducer it is important to place the transducer such that the when extended the mirage drive flippers do not impinge on the transducer sound cone.
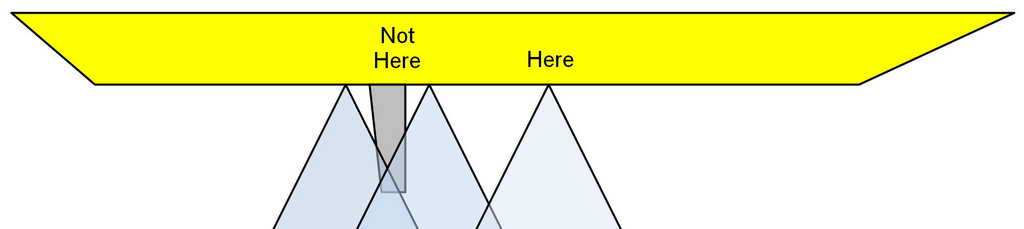
A typical transducer sound cone is 60 degrees. The turbo flippers extend 16" below the hull. With basic trigonometry we can calculate that the transducer must be at least 9.25" from the edge of the flippers. If the transducer is mounted just forward or just aft of the mirage drive hull cut out, when the flippers are extended they will be in the transducer cone. To clear the flippers I chose to mount the transducer just aft of the crotch hatch. This places the transducer under the seat, near the center of the boat.
It is hard to imagine a simpler transducer mount than the following. Perhaps using Marine Goop to glue the transducer to the inside of the hull would be simpler, but perhaps not.
For the installation you will require:
- A transducer - generally a transom mount model
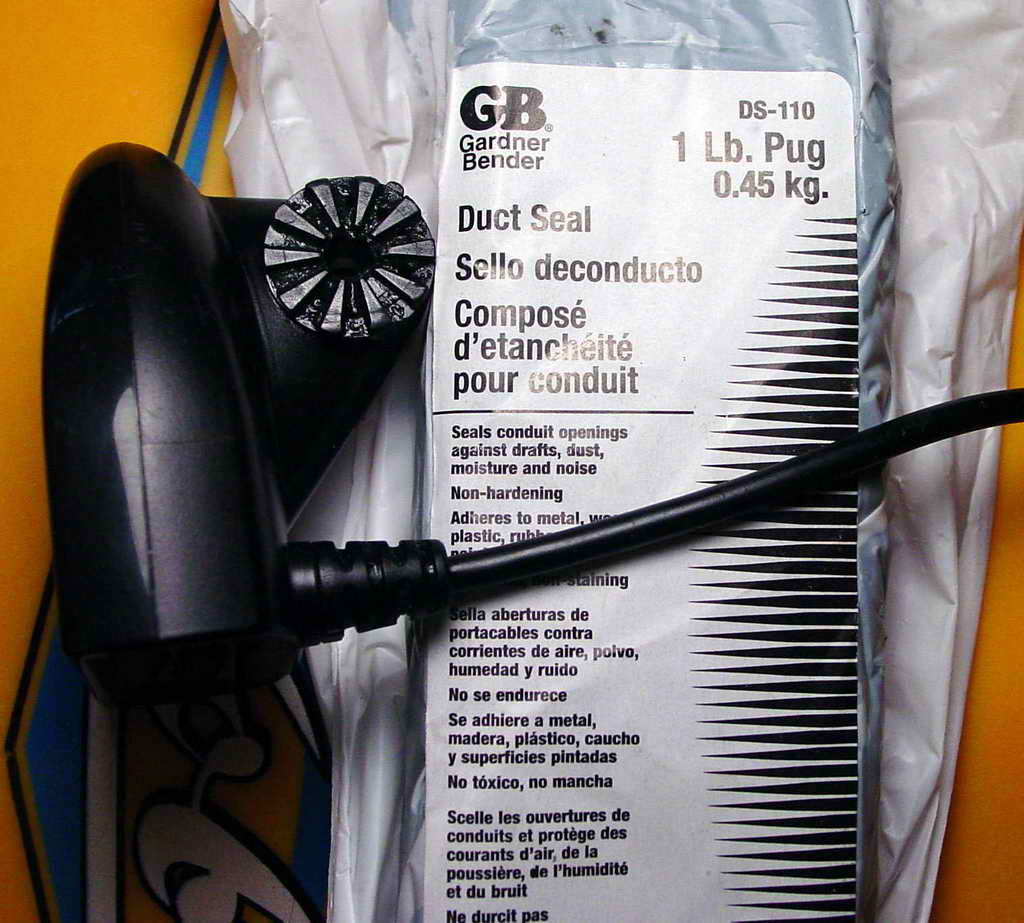
- Duct Seal, aka, plumber's putty, aka, monkey shit
- A putty knife
- Paper towels
- Windex or similar surface cleaner
-
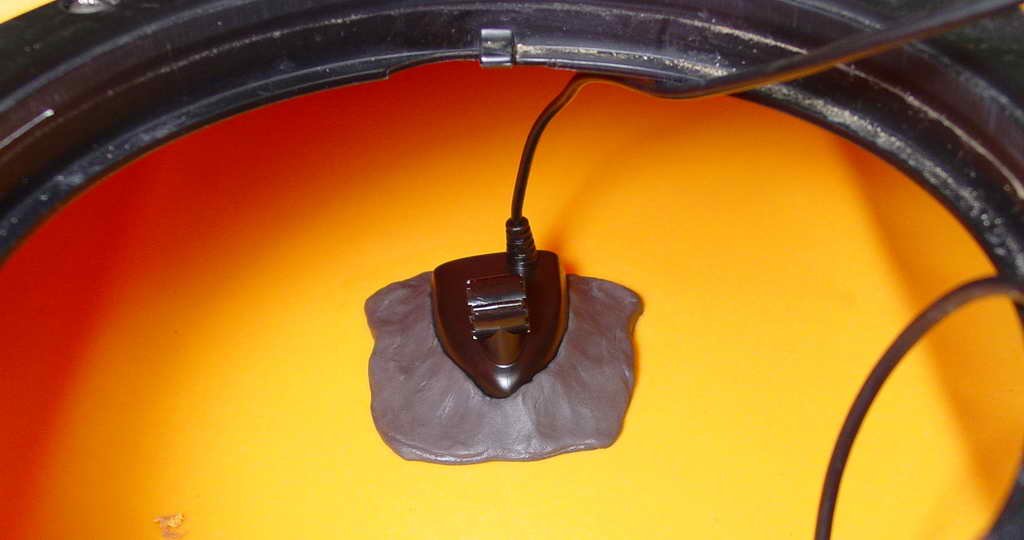
Duct Seal (Plumber's Putty, Monkey Shit) and the transducer
-
Allow the kayak, putty, and transducer to come to room temperature.
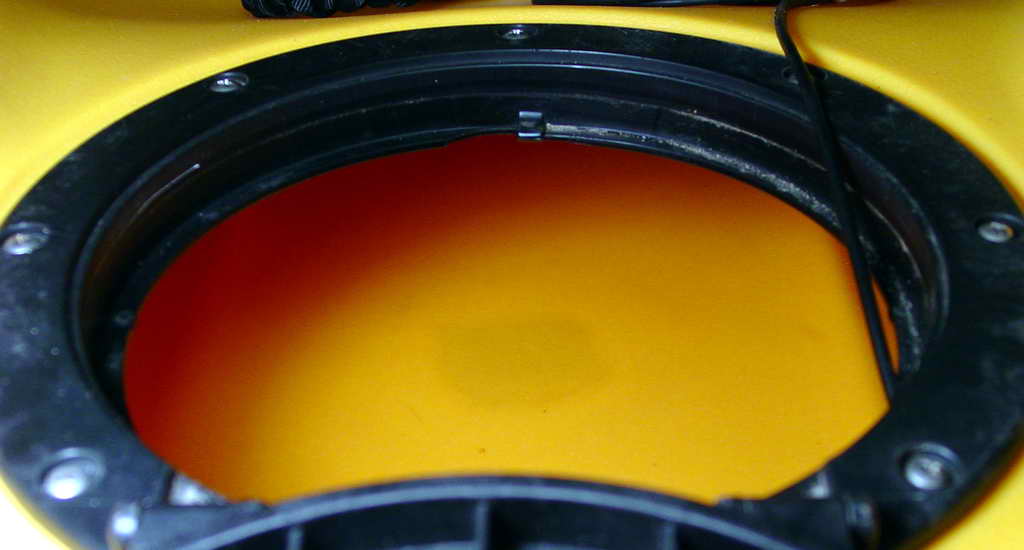
Use the paper towels and surface cleaner to clean the hull and transducer.
In the photo below the stain from the previous transducer mount, foam and grease,
can be seen on the cleaned hull.
-
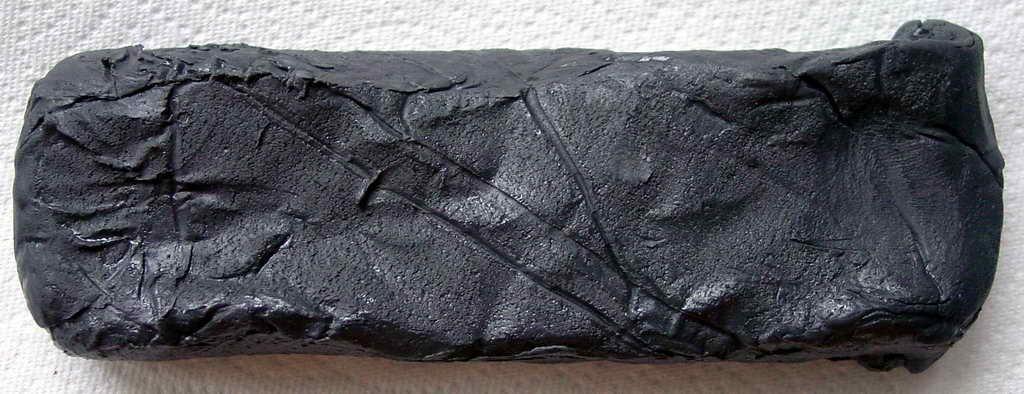
The putty comes in a one pound block. Use the putty knife to cut off about 1/3 of the
block. Use your hands to form it into a pancake about 3/8" thick and about 1"larger
than the transducer. The putty is STICKY and makes a good hand moisturizer.
-
Press the putty pancake into place making certain no air is trapped under the putty.
Press the transducer into place slowly working it into the putty and leveling.
Again make certain no air is trapped under. Work a bit of the overhanging putty up
onto the sides and back of the transducer.
-
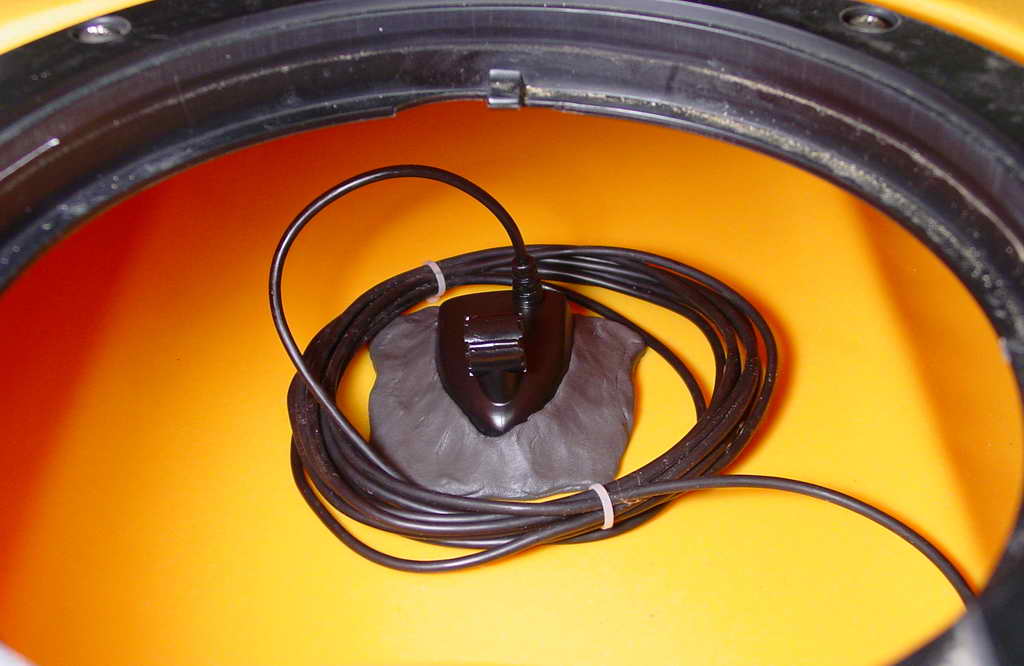
Finish up by doing something with any extra transducer cable.
-
Performance: TBD