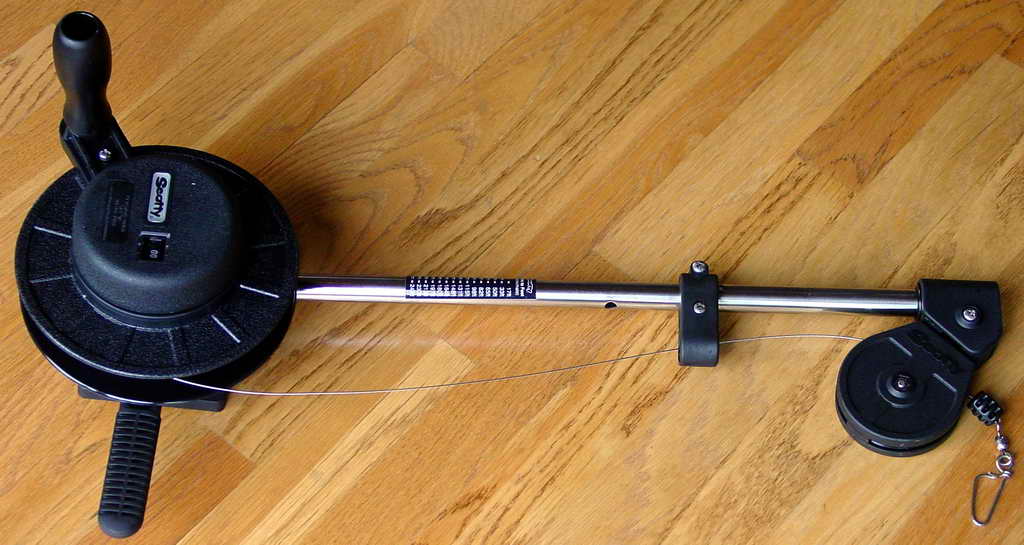
The Hobie Revolution 13 kayak poses some problems for mounting. First, the gunwales are not wide enough nor sturdy enough to support the downrigger lead ball weight and the trolling drag on the unit. Second, gunwale mounting would create a long lever arm, badly unbalancing the kayak and tending to tip it, particularly if the lead ball hangs up on the bottom. Third, and finally, the mount must be light and removable. The solution is a centrally or even off-center-to-the-opposite-side mounting made from PVC pipe and employing the design of the kayak. The Scotty DM has a rather short arm so a central mount will be used here, and the design feature of the Revo employed to temporarily afix the mount is the otherwise useless molded rod holders behind the seat on each gunwale.
PVC pipe is both light, strong, and easy to work. 1-1/4" Schedule 40 PVC will be used throughout. Please verify all measurements with your particular kayak and parts. The parts list:
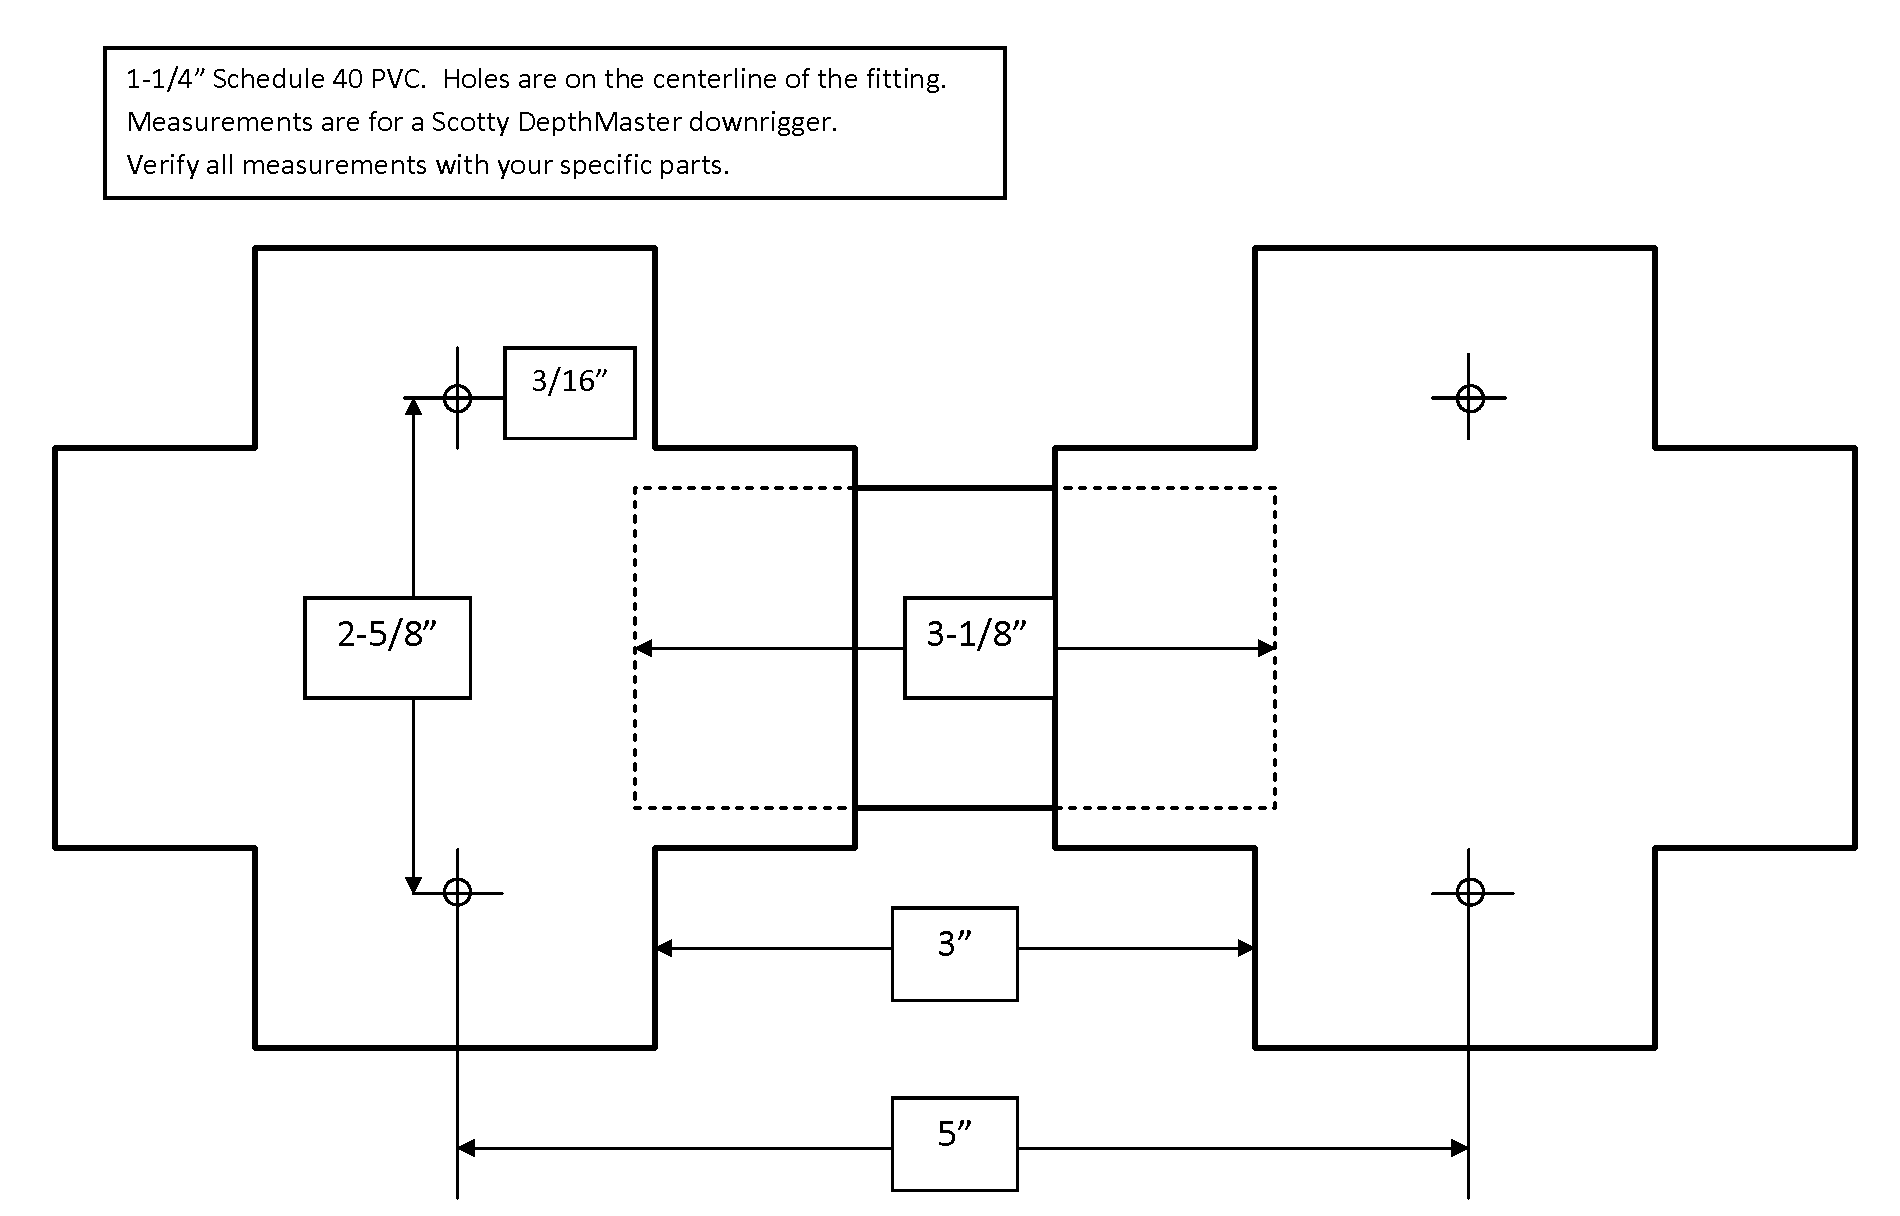
The heart of the mount is two cross fittings joined by a short piece of straight pipe such that the horizontal centerlines of the two crosses are precisely the same distance apart as the long dimension on the Scotty DM mount. My measurements make this 5". Here is a schematic of the double-cross assembly. Please verify all measurements with your specific parts.
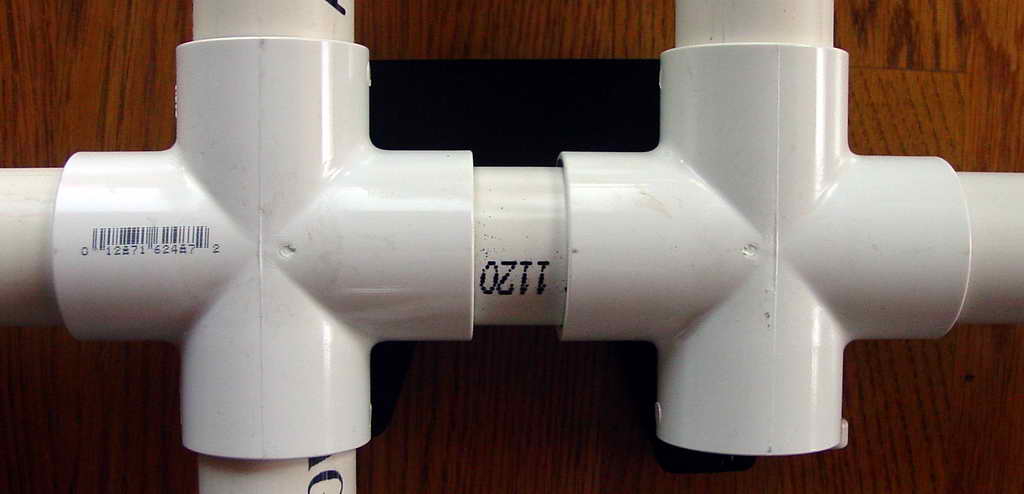
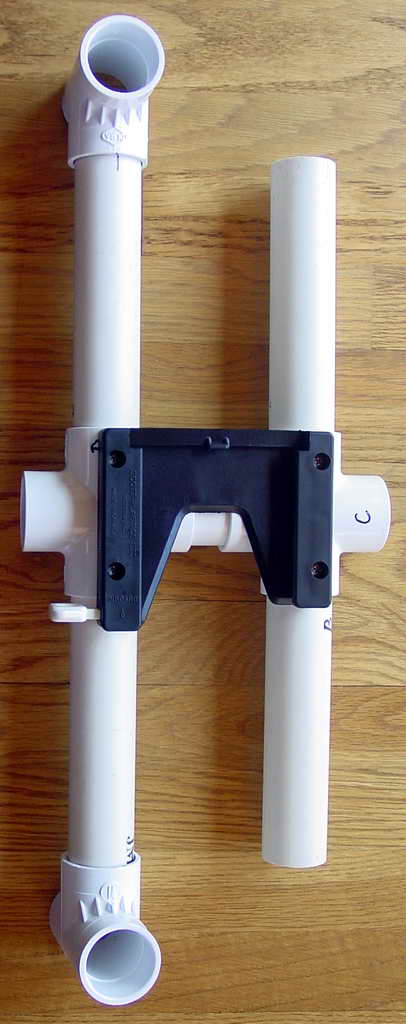
Here is the double-cross. This is actually the bottom. The holes are drilled in the other side and are now obscured by the Scotty mount.
The arm of the DR can extend either to the right or left of the kayak. I have chosen the right side. Here is an overview of the mount. The bow of the kayak is to the right and the stern to the left. The Downrigger slides in from the frame top side of the black mount.
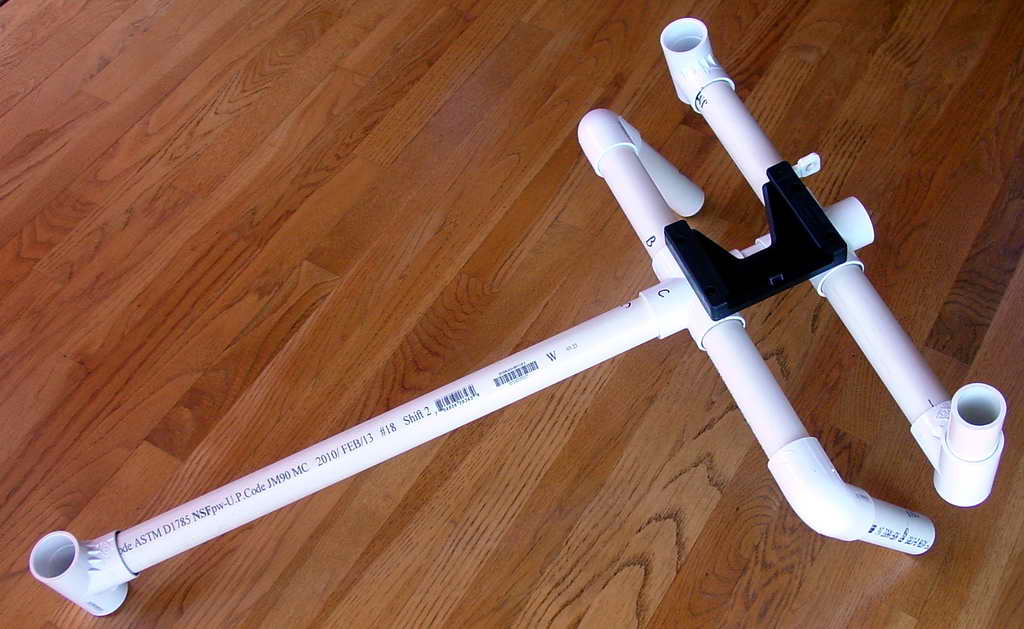
The legs extending down fit into the kayak's molded rod holders. All the force on the mount will be to starboard and on the gunwale. The long tail extends sternward and the 'T' on the end rests just beyond the rear hatch. The more forward horizontals terminating in 'T' fittings rest on each gunwale and supports the downward force from the DR whether mounted from the left or right. These 'T' fitting need to be trimmed on the downside about 5/8" to ride level on the gunwales. The DR slides into the black mount from the port side and the arm extends over the starboard side of the kayak.
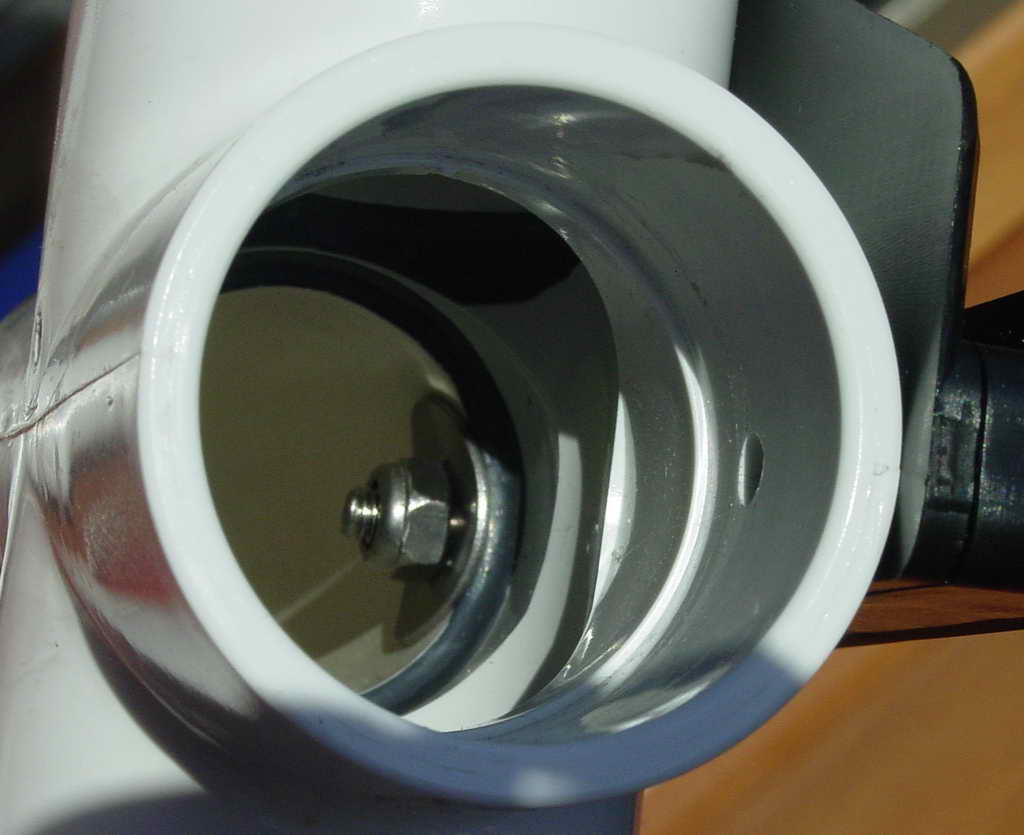
There is a complication with the assembly process. As seen from the overview, four lengths of PVC are inserted into the double-cross, one at each drilled hole. The four holes are each drilled through the inserted & glued pipe length and the Scotty Mount bolted through the holes. The nuts for two (either left two or right two) of the horizontals are reachable with a wrench through the "other" side, but the the other two nuts must be reached through the horizontal supports. A long wrench or an extension of about 10" is required. The wrench only need hold the nut still, since we are using phillips-headed screws. I used a 3/8" box wrench taped to a 10" metal rod. A small piece of tape was under the box head to support the nut. Here is an internal shot of the nut and washer. Note the arched washer.
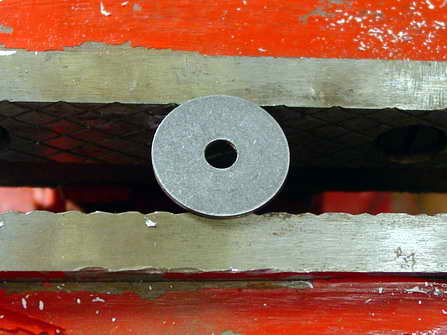
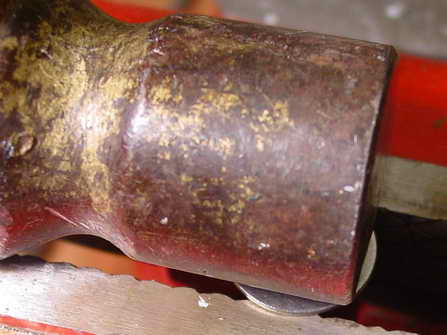
Also the fender washers are flat and the inside of the pipe is round. To get a good mating of the fender washer to the inside of the pipe the washers may be arched. To accomplish this I bridged the edges of the washer across the open jaws of a vise, placed a metal pipe or rod across the washer, then hit the metal rod with a hammer. The blow drove the center of the washer down until the edges cleared the jaws and it fell clear. Below are a few photos of the process.

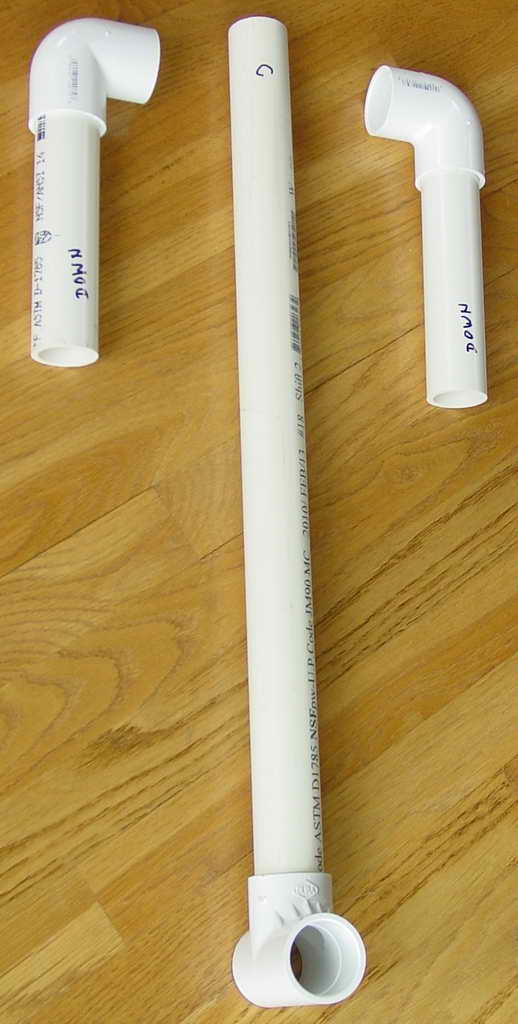
Since the mount is to be removable and easily transported, not all parts are glued together. The final mount consists of 4 assemblies, the core assembly (double-cross with horizontal supports and starboard brace all glued and screwed), the 2 legs, and the stern brace.
The core assembly is below left, forward to left, rear to right. The horizontals with the 'T' fittings are the gunwale braces. The legs and stern brace are below left. Note the 'T' fitting on the end of the stern brace.
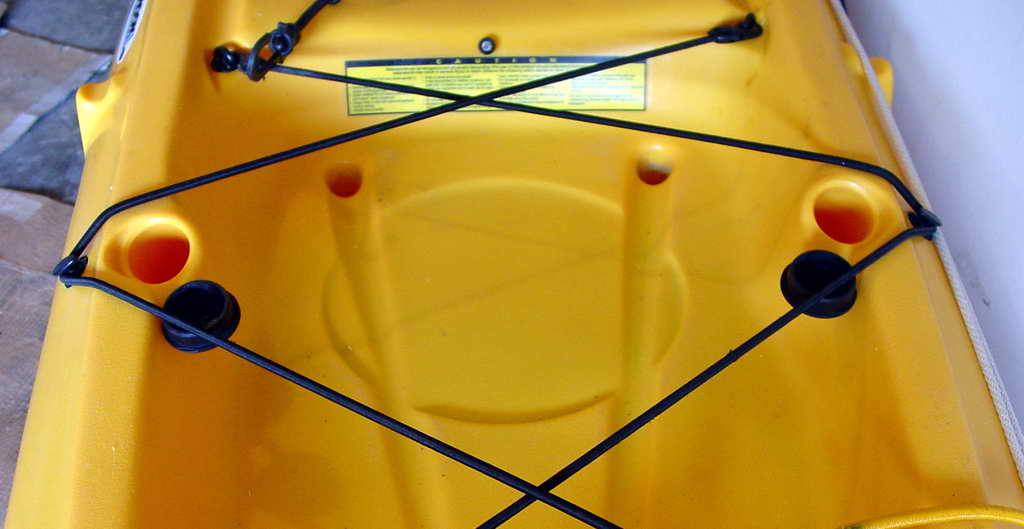
Installed on the Revo13, the legs fit into the molded rod holders behind the cockpit, the 'T's on the horizontal braces rest on each gunwale, and the 'T' on the stern brace rides over the bungie stay. The rear bungie lacing is looped over the mount to help hold it in place. Some items of note are a bit hard to see. The gray closed foam pad under the mount can hold 2 lead balls, though in the photo there is only one. Divets were cut into the foam with a sharp knife. The blue line on the left connected to the ball and the line is a rubber snubber shock absorber used to cushion the line from the shock of a ball jerk. The black clip with the yellow tip is the fishing line release. The short vertical extention on the right side gunwale 'T' fitting acts as a net holder. Finally, the thin line (paracord) on the brake release is a lanyard to help release the brake.
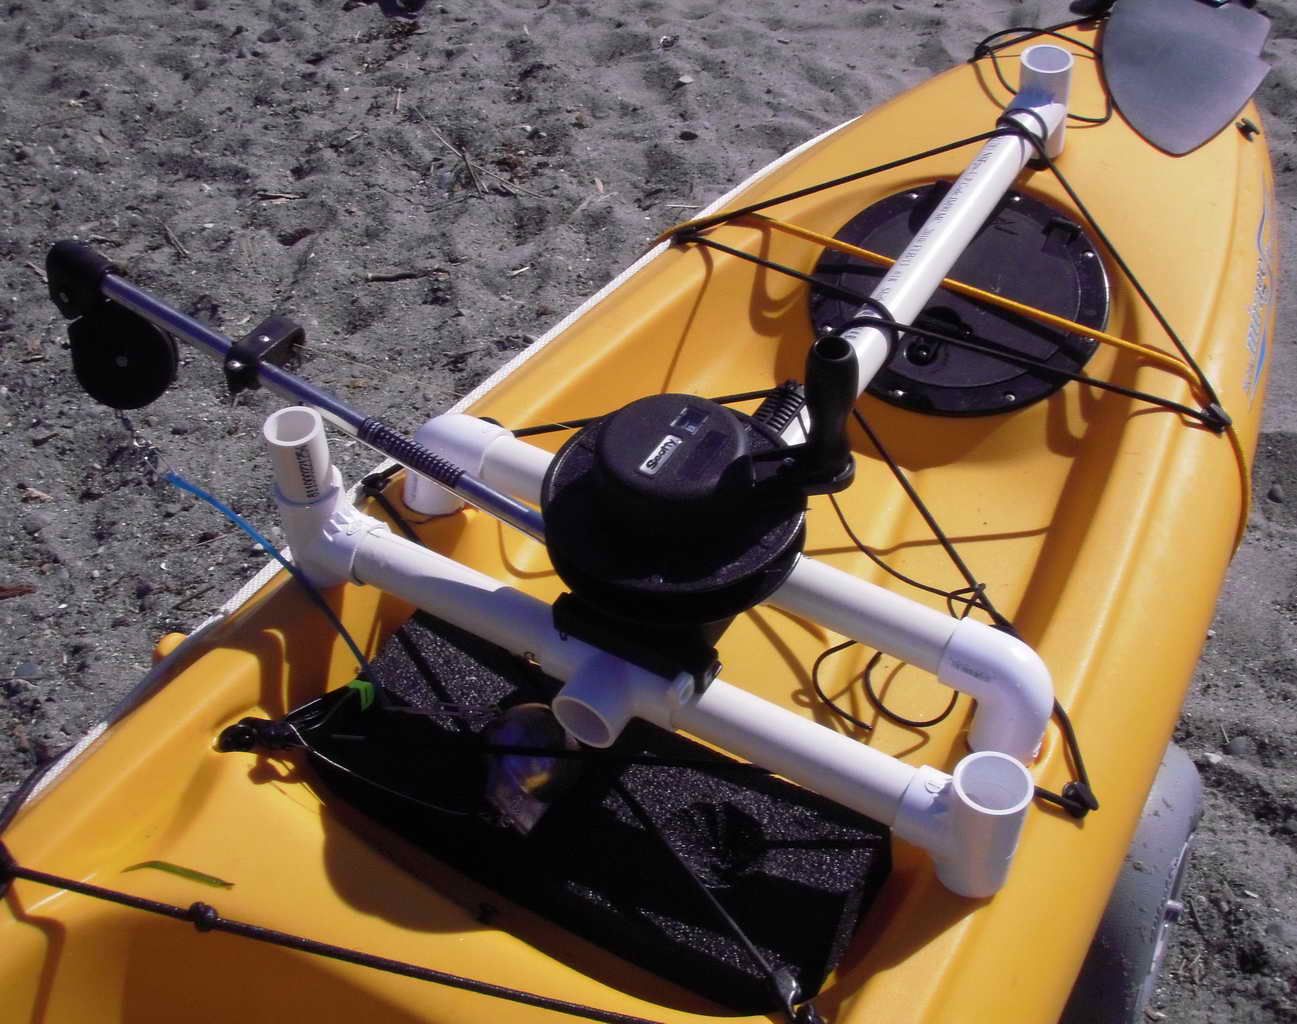
To avoid entanglement downriggers must be deployed and retrieved while the vessel is in motion. On the Hobie Revolution kayak this is an interesting gymnastic exercise. One must face forward to pedal, while reaching back to release the brake in a carefully controlled manner. The lanyard eased the situation some, but the brake release is exceptionally sensitive. A fraction of an inch of handle travel is the difference between a controlled descent and free fall.
By the second shakedown cruise I had things more or less dialed-in. The PVC mount never moved, so it has proven itself sturdy. I managed not to lose my second 6 pound ball and line release. The lead ball could be seen easily on the sonar. I had become rather adept at ball deployment using the lanyard, but still am going to test out mounting the downrigger off the left side putting the brake release just behind the seat.