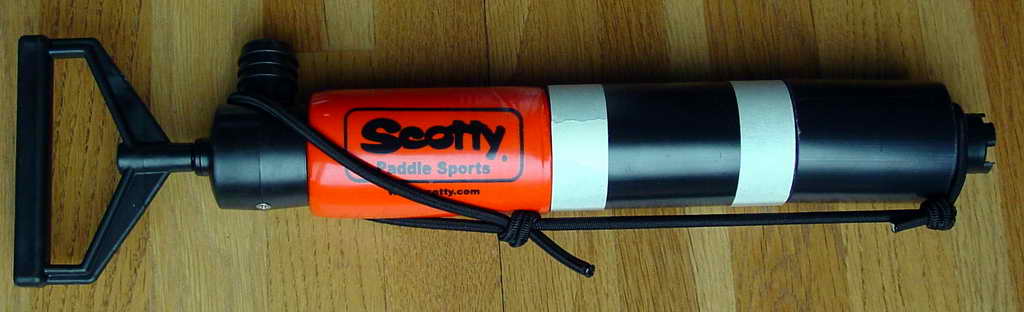
The photo above shows the parts assembled. Note the shorter ABS tube goes closer to the tip of the pump.
Parts list:
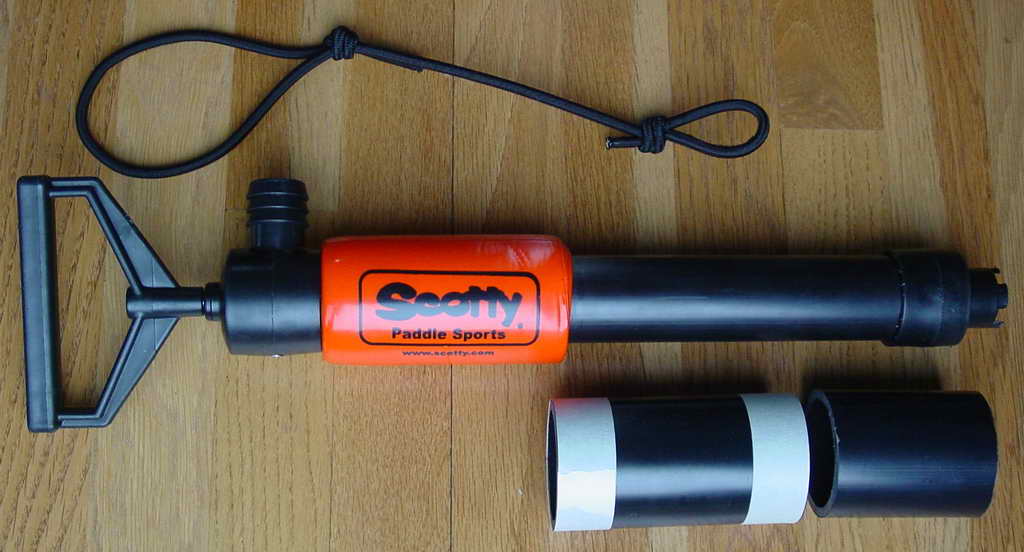
The photo above shows the parts assembled. Note the shorter ABS tube goes closer to the tip of the pump.
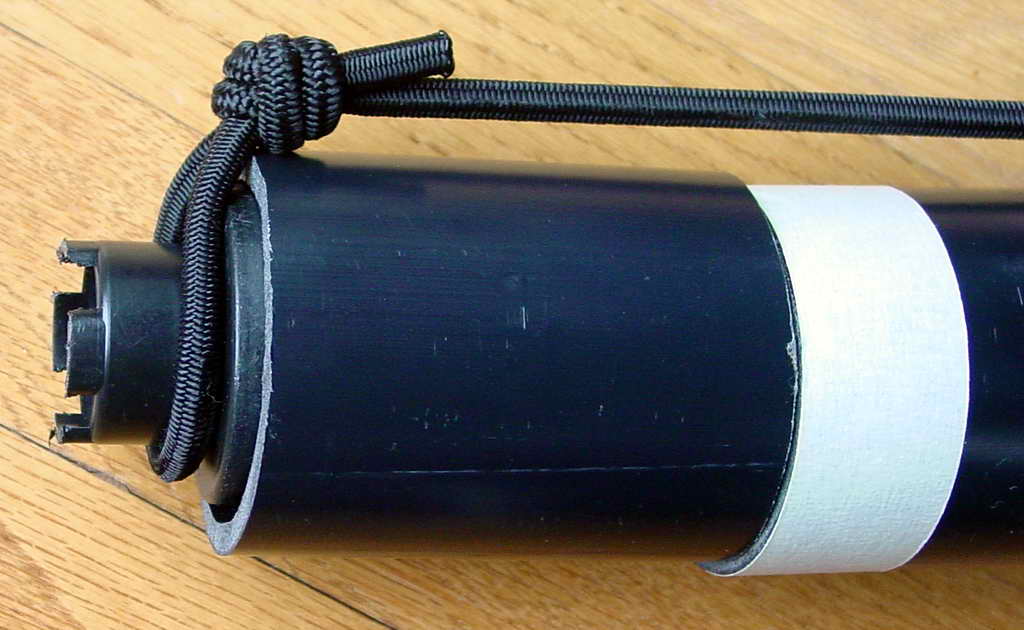
Here is the small bungee loop over the pickup tip of the pump.
The functional idea here is that the small ABS tube is glued to the inside of the kayak. The longer ABS tube is simply a spacer. The pump with the spacer is inserted into the glued-down shorter ABS tube and the bungee installed. The bungee keeps everything in place until you reach in and pull the pump 3" back. The pump pulls out of the glued-down 3" ABS tube and the small loop slips off the pump tip freeing the pump from the mount tube. The spacer is used to reduce the "pull distance" to remove the pump.

This is the shorter ABS tube glued to the bottom of my Hobie Revo. Clean and dry the kayak surface thoroughly with alcohol before applying glue. Run a generous line of Marine Goop down the length of the tube. The cable is for the fishfinder transducer, and the structure to the right is the drive well for the Hobie Mirage Drive.
This is the final installation of the pump in the glued-down mount. The tape was removed from the spacer.
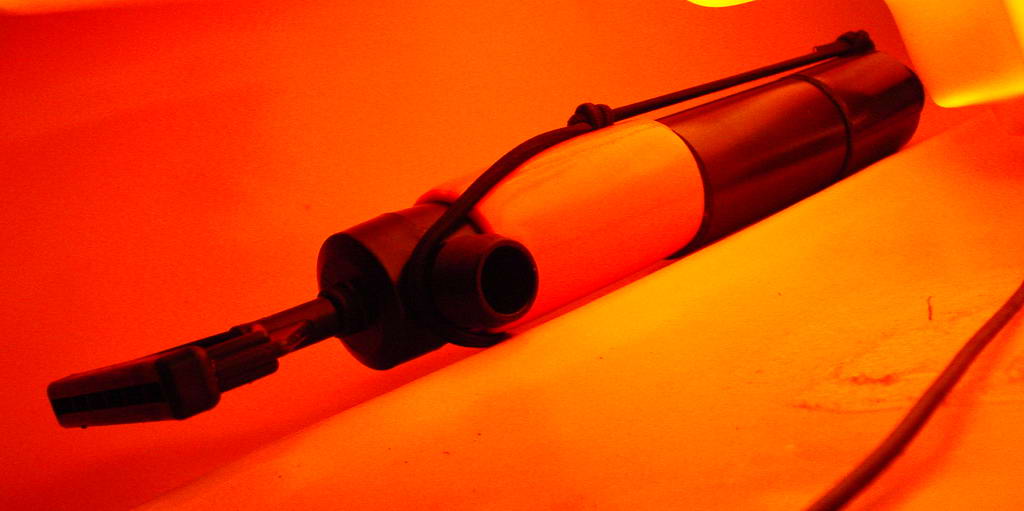
There are a few considerations when installing. You need to be able to grab the pump easily. You will need only 4" of room to pull the pump out of the mount. You will need to be able to reach in and slip the bungee loop over the tip. During installation be sure the larger bungee loop catches the outlet tube on the pump.