
Overview of complete finished harpoon

Closeup of tip shaft and cable
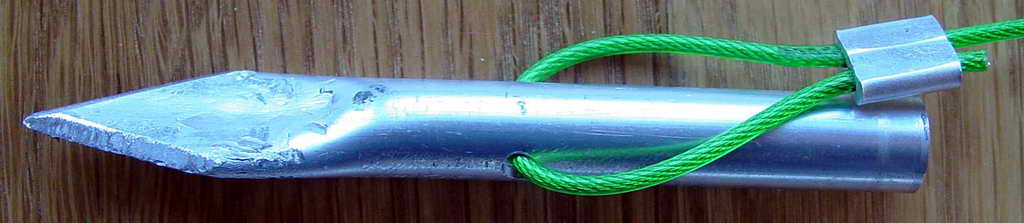
Close up of tip
Overview of complete finished harpoon
Closeup of tip shaft and cable
Close up of tip
It will take just a few minutes to collect the parts at Home Depot and 30 minutes at home in assembly. Parts will build 2 harpoons. You could find the tube and rod cheaper. Stainless would be best, copper would work well.
These are the dimensions I used:
Smash the first 1-1/2" of the tube in vise, then pound flat. Grind the tip into an arrowhead. Grinding may heat up the aluminum enough to weld the tip together. Sharpen with a hand file. If using a copper tip, you might want to solder the seam in the point. Also, to harden copper heat to glowing then allow to cool slowly in air. This is the opposite of iron-based metals.
Drill a hole 2-1/2" from tip. You want it balanced so adjust the hole position accordingly. Note the the hole is drilled parallel to the plane of the arrow tip. This holds the flat of the tip against the fish. Cut tip off at 4-1/2" and clean up the cut.
Cut the wood handle at 22". Drill a 5/16" hole 3" deep in cut end of wood handle. Repeatedly drop the wood handle on hard floor and the rod will drive itself into the hole.
Loop wire rope through tip and crimp. Crimp other end in another loop. The photos show an error which you should correct. Make the loop through the tip long enough so the ferrule is BEHIND the tip. You want the ferrule to follow the tip through the wound channel, and not be forced through the wound channel beside the tip.
Finished. Remember the tip is loose on the shaft and will fall off easily. A small zip-tie or rubberband can be used to keep the tip on the shaft. A line should be clipped to the end loop at all times so if the tip falls off it is not lost.