Demonick's Kayak Fishing Pages: Anchor Trolley
Home
Last updated Sunday, 2009-07-12
Mobility on a SOT fishing kayak, while considerably more than on a SINK, is still limited. Except on rare occasions all boats should be anchored from the bow or stern. One could install a static anchor line with securing positions at the bow and stern, but then one would have to decide on whether to pre-rig the anchor line at bow or stern, or pre-rig one anchor line at each position. I can envision a number of ways to do this. One would involve only a pad-eye, a bungee loop, and a cleat near the sitting position. Install a pad-eye and a loop of heavy bungee at the desired bow and stern locations. The anchor line would be of sufficient length to secure the free end in the cleat, thread through the stern/bow bungee loop then come back to tie off at the cleat. This would allow one to rig and deploy the anchor system from the sitting position. Moving the anchor to the other position would require retrieving, re-rigging to the other anchor line, and re-deploying. This is a very simple system, and since the vast majority of your anchoring will be from the bow, a very viable, good-enough, solution.
However, I am a tinkerer, and good enough is not always good enough. I decided to install an anchor trolley.
An anchor trolley is basically nothing more than a pulley system extending from bow to stern. This pulley system allows one to rig the anchor line from the sitting position, then run the anchor line to bow or stern or anywhere in between like running laundry on a clothes line. Many different methods can be used to create "pulleys" at the bow and stern. Pad-eyes and bungee loops would work. One could add pulleys to the bungee loops. One could use carabiners. I decided to use simple pulleys secured to the side of the boat.
When cutting a synthetic line, immediately sear both ends with flame to prevent unravelling. Be extremely careful of melting plastic and the fire risk.
-
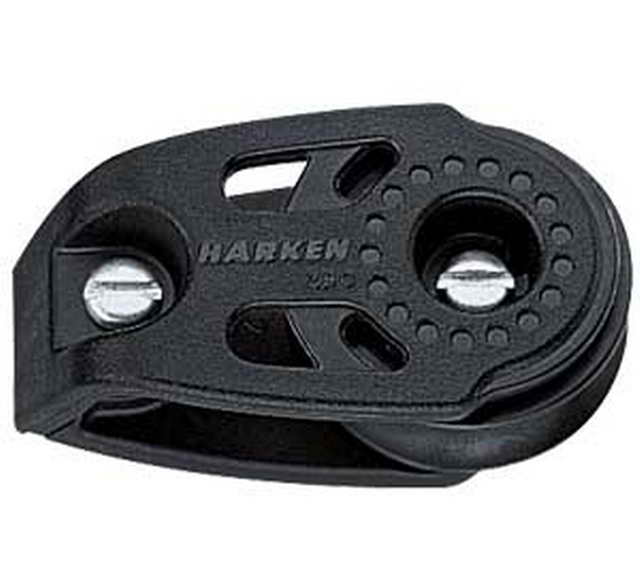
Photo 1 shows the Harken 29mm Carbo Cleat I used at the bow and stern as a pulley. They range from $10-12 a piece, and surprisingly, I found them the cheapest at West Marine. The maximum line diameter they can handle is 5/16" which is what I used.
-
Photo 2 shows the bow pulley. Note the screws used for securing. This is stainless steel hardware, described in the next photo.

-
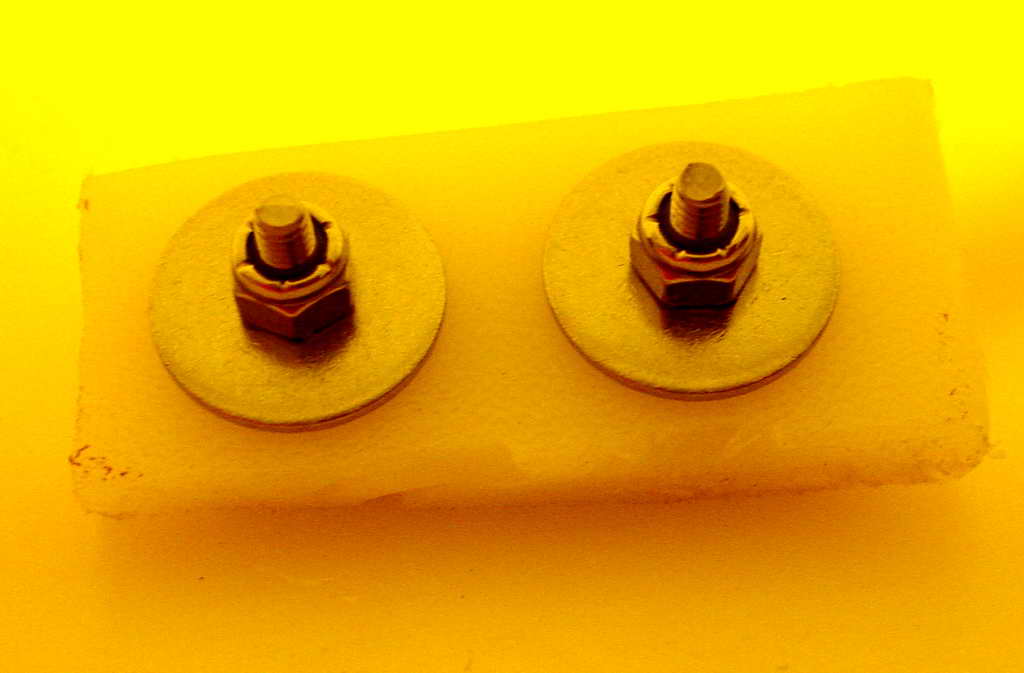
Photo 3 shows the bow pulley backing inside the boat. This is stainless steel hardware, screws, fender washers, and nylock nuts with a cutting board backing. This securement was possible because of easy access to the inside of the bow through the front hatch. For similar attachment hardware see cleat installation below. Also note the copious use of Marine Goop for sealing.
-
Photo 4 shows the stern pulley on the Ocean Kayak T13A. Note the pop rivets used for securing. Internal access to the stern is impossible on a stock T13A kayak. One should install a 4" deck hatch at the stern of the live well to provide internal stern access. I have yet to do this. The pop rivets used were "wide flair". These are slightly larger in diameter than the holes in the pulley. This requires a careful, by-hand with a drill bit, reaming of the pulley holes. Do it slowly, by hand, with patience while watching TV. Also the head of the pop rivet is slightly too large to fit in the screw recess of the cheek. File or grind evenly until it fits. A dremel makes this job easy. Note the copious use of Marine Goop for sealing.

-
Photo 5 shows the wide-flair pop rivet used to secure the stern cheek and the all important Marine Goop. The pop rivet fits in a standard pop rivet hand tool and expands into the wide tri-tail shown.

-
Photo 6 shows the cleat and associated stainless steel mounting hardware, screws, fender washers, and nylock nuts (self-locking). The backing plate was formed from a section of a cheap plastic cutting board.

-
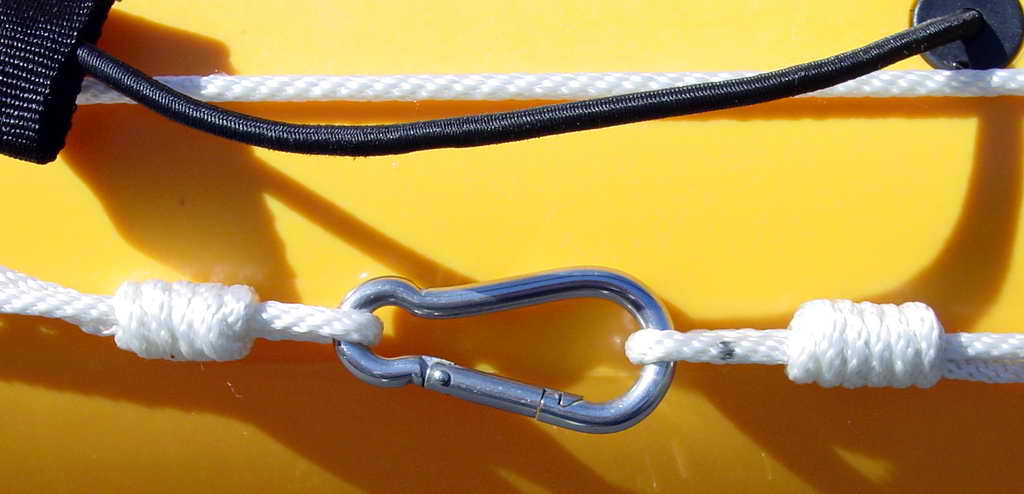
Photo 7 shows the anchor line, clip, ring, and cleat just behind the sitting position. Inside access to the cleat position was through the rod pod hatch. Longer arms would have helped, but with only a little bruising I was able to place the cleat in my optimal position. To use the anchor trolley, thread the free end of the anchor line through the ring and secure to the zig-zag cleat. Then pull the top trolley line to run the ring and anchor line to the bow or stern. Some fisherman also secure the trolley line through the cleat. To do so you will need sufficient slack in the trolley line. Also remember to secure the trolley line UNDER the anchor line. The reason to cleat rather than tie off the anchor line is for quick release for safety or fish fighting. Of course you have a float on your anchor line for later retrieval! One could replace the clip and ring with a single stainless steel carabiner and at some point I will do this. The clip serves no anchor function. When using a carabiner, place the flipper up. This will make clipping in the anchor line easier. Note the copious use of Marine Goop for sealing the cleat.

-
Photo 8 shows the stainless steel carabiner mentioned above. (Yes, it was reversed.)